A Visual Guide: How to Spray Paint Floristry and Craft Items like a Pro
SUMMARY
- Clean and dry your item thoroughly before painting.
- Use painter’s tape to protect areas you don’t want painted.
- Set up in a well-ventilated area and shake the can well.
- Apply multiple light coats from 10–12 inches away.
- Let the item dry for 24 hours before using or handling.
Spray painting offers a fast, creative way to refresh baskets, vases, signs, props, and more — perfect for florists, crafters, and event stylists. Whether you're designing a floral arrangement or styling an event, getting a clean, polished paint finish makes all the difference.
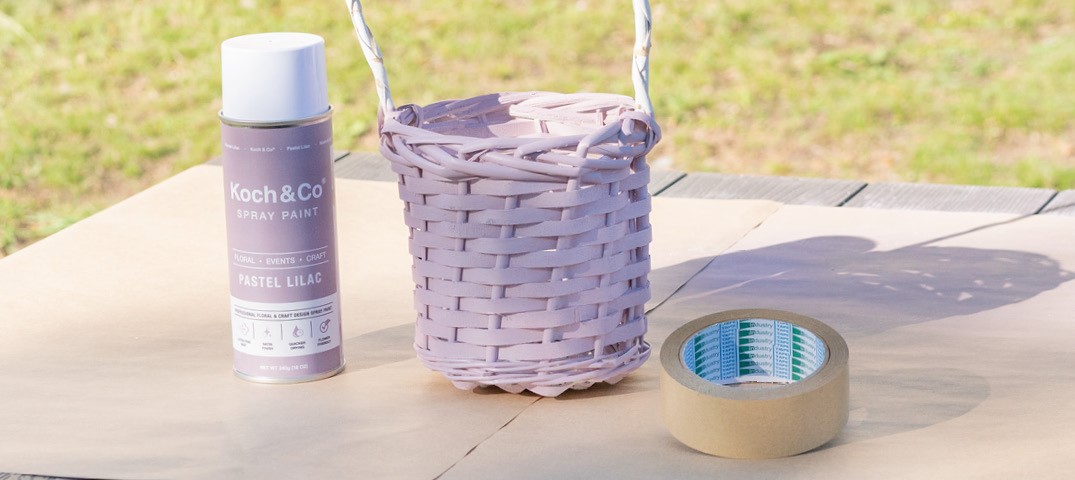
While it can seem difficult to get the professional finish you're after, there is no secret to spray painting. Whether you're trying to figure out how to spray paint as a beginner or looking for some extra tips for your next project, try this simple guide to spray painting almost any item, using a woven basket as an example.
Things you'll need:
Ensure you have these materials ready before beginning.
-
Item to paint (e.g., basket, vase, signage)
-
Mild soap and water (dependent on the nature of the surface being painted)
-
Soft cloth or sponge
-
Painter’s tape (optional)
-
Drop cloth, newspaper, or cardboard
-
Spray paint (in your chosen colour and finish)
-
Gloves and a mask (for safety)
Important Tips:
Consider the materials and purposes of your project to get the finish you're after.
-
Choose the right spray paint: look for types labelled for wood, metal, glass, plastic, or fabric, depending on your project.
-
Satin and matte finishes often give a more natural, professional look for event decor and floral styling.
-
Use metallic sprays for glam accents — but apply them lightly to avoid over-saturation.
-
Consider a clear topcoat for extra protection if painting props for outdoor use.
Steps for success:
Follow the steps below for best results and minimal wastage.
Step 1: Prep the Surface
Start with a clean, dry item. Dust, dirt, or oils can stop the paint from sticking. If your item is already coated with paint or varnish, first sand for maximum paint adhesion. Wipe down your piece with a damp cloth and mild soap if needed. Let it dry completely.

Step 2: Cover Areas You Want to Protect from Paint
Use painter’s tape creatively. If you want to keep some sections natural or add design details (like stripes), cover them carefully with tape or masking material.

Step 3: Set Up a Safe Painting Area
Ventilation is key. Spray outdoors if possible, or in a garage with the door open. Lay down a drop cloth or newspapers to catch overspray. Shake the spray paint can vigorously for at least 1 minute to mix well.

Step 4: Spray Paint in Light, Even Layers
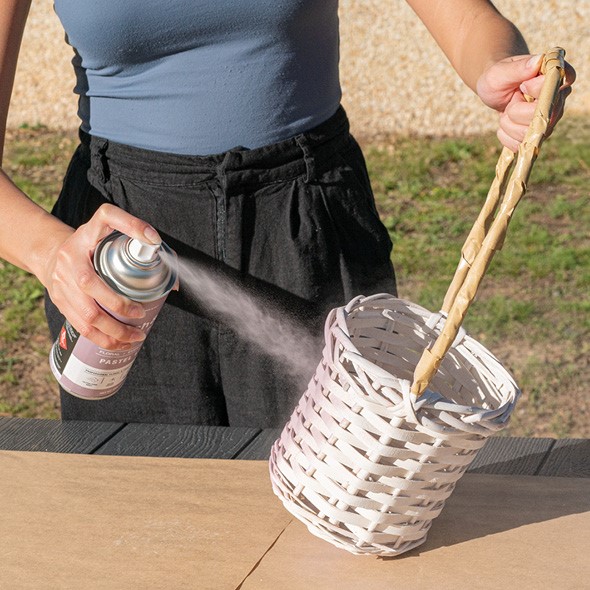
Slow and steady gets a smooth spray painted finish. Hold the spray can 10–12 inches away. Move it smoothly side-to-side, slightly overlapping each pass.
Apply several thin coats, letting each layer dry for 10–20 minutes before adding the next. Heavy and close-range spraying may result in drips.

Step 5: Rotate and Inspect
Catch every angle. Turn your item as you go, checking for unevenness or missed spots.

Step 6: Dry and Cure Fully
Don’t rush it! After the final coat, allow the item to dry for 24 hours before handling.
With the right materials, a little preparation, and a light touch, spray painting can be a useful and economical tool for your next project. Whether you're refreshing decor for an event, creating a unique floral arrangement, or adding a personal touch to your craft project, these simple steps can help you achieve smooth, even results every time. So grab your spray can, follow this guide, and enjoy the creative process. For more information on Koch & Co®'s spray paint range, see our blogs A Safety Guide to Using Koch & Co Floral Event Craft Spray Paint and Introducing our NEW Koch & Co Professional Floral & Craft Design Spray Paint Range!